Install SQL Operations Studio on a Mac
How to install SQL Operations Studio (SQLOPS) so you can manage SQL Server straight from your Mac!
SQL Operations Studio (SQLOPS) is a free, lightweight management tool for managing SQL Server. It's free, and it's available for macOS, Linux, and Windows.
Here are instructions for installing it on a Mac. I also demonstrate how to connect to SQL Server once you've installed it.
-
Download SQL Operations Studio
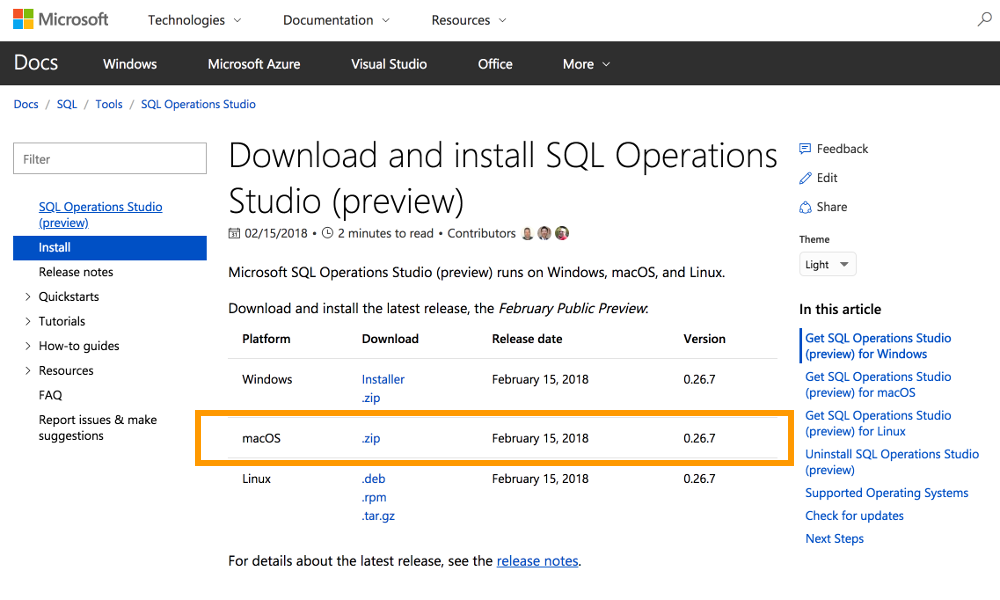
Go to the SQL Operations Studio download page, and click the .zip file for macOS (there are also options for Windows and Linux if you need them).

-
Install SQL Operations Studio
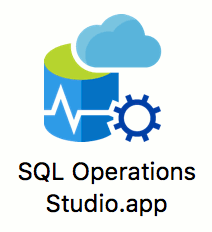
Once the .zip file has downloaded, double-click it to expand its contents. Then drag the .app file to your Application folder (it will probably be called either SQL Operations Studio.app or sqlops.app or similar).

-
Launch SQL Operations Studio
Launch SQL Operations Studio (by clicking on its icon in your Launchpad or the Applications folder).
-
Connect to SQL Server
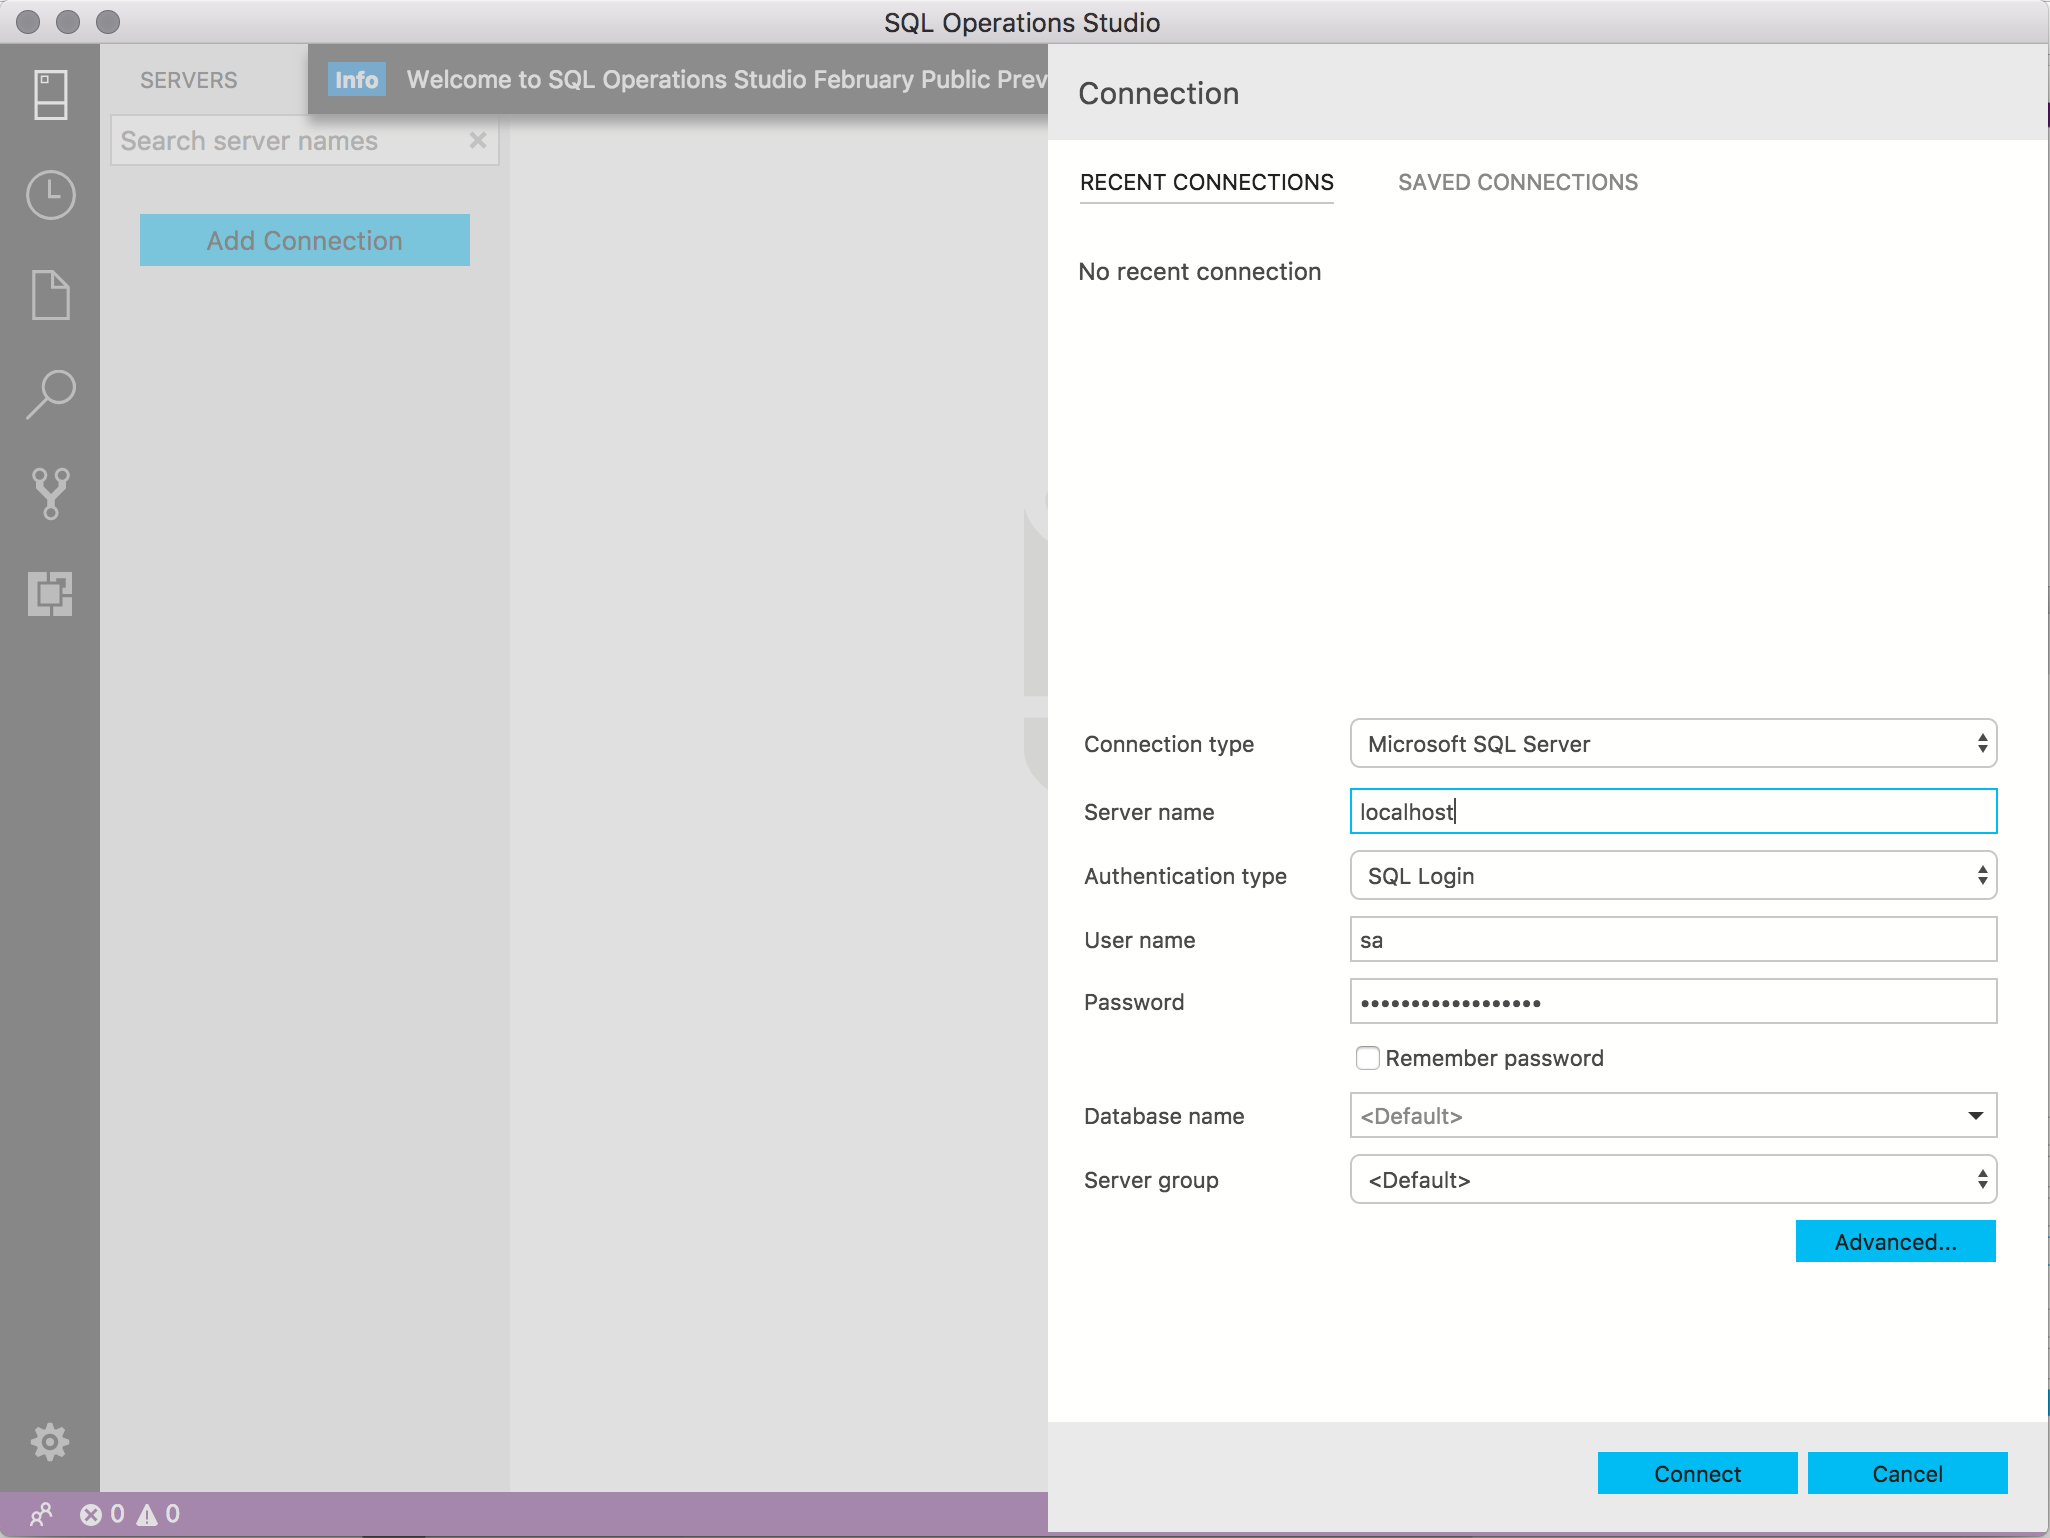
Enter the SQL Server connection details.
Here are the details I used on the SQL Server installation tutorial:
- Server Name: localhost
- Authentication Type: SQL Login
- User name: sa
- Password: myPassw0rd
- Database Name: <default>
- Server Group: <default>

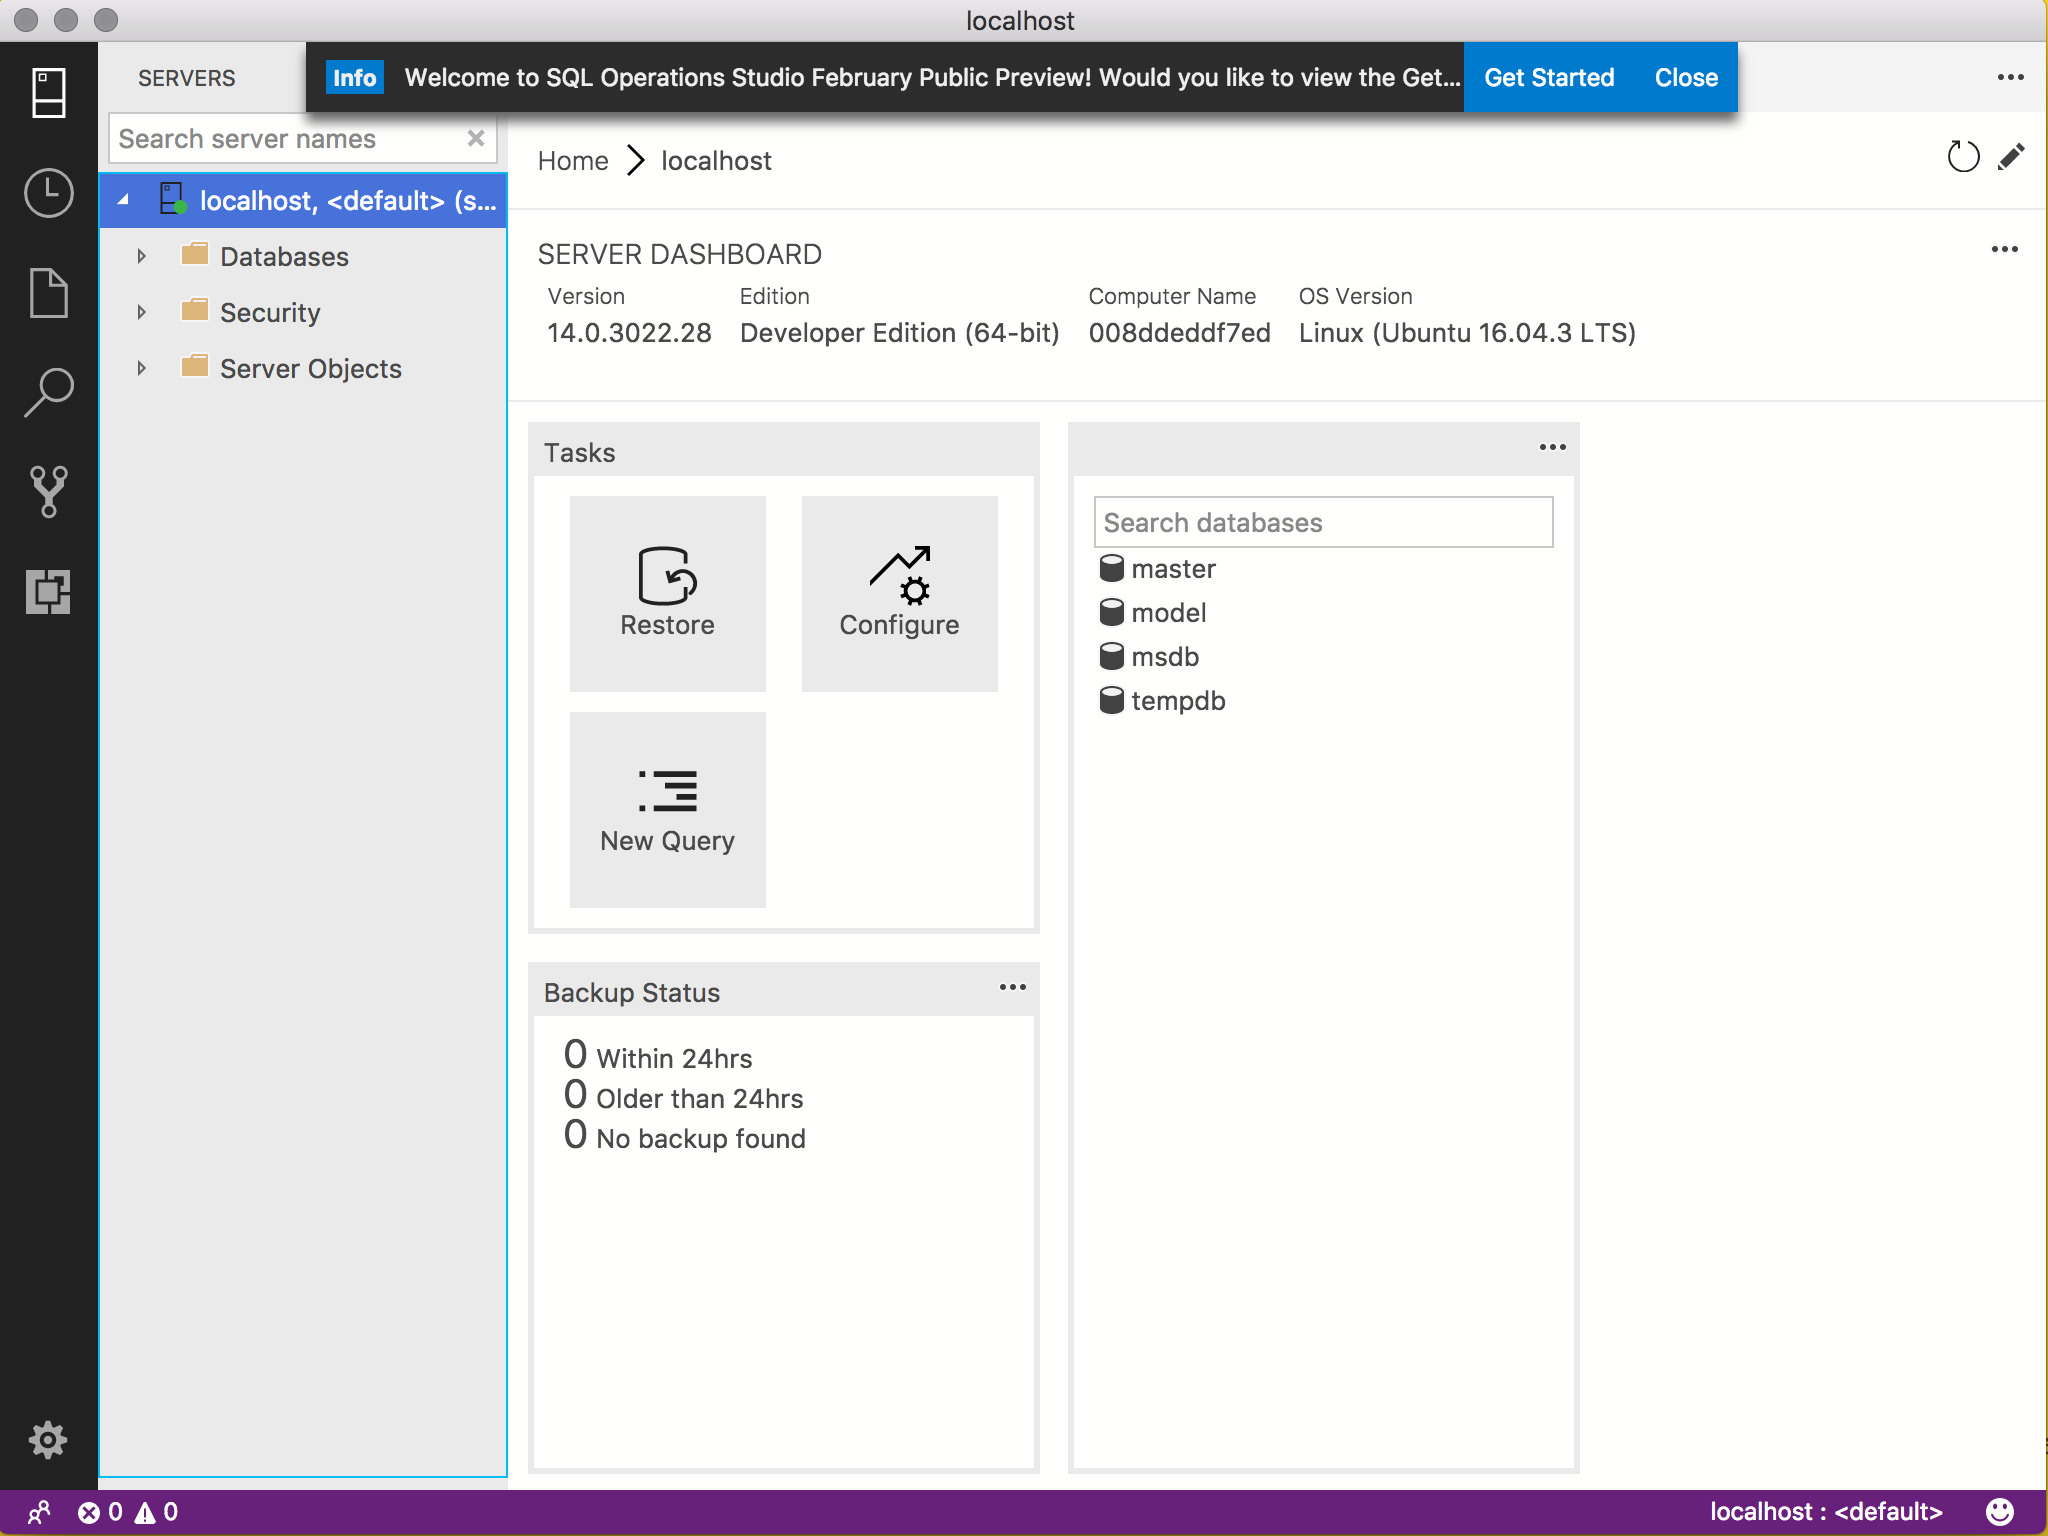
You've now connected to SQL Server with SQL Operations Studio. Once logged in, the Server Dashboard is displayed:
