Access 2016: Create a Table in Design View
Design View can make it easier to set up a table. It provides a different view of the table to Datasheet View, and is typically used to configure the table.
You can use Design View to create a tables, set up data types for each field, specify default values, specify how data should be entered and displayed, and more.
Generally speaking, most tasks can be achieved using either Design View or Datasheet View, however there are some advanced settings that can only be changed in Design View. Also, you might find that you prefer to do certain tasks in Design View and other tasks in Datasheet View.
Datasheet View vs Design View
Here's a quick comparison of Datasheet View and Design View:
-

Datasheet View
Datasheet View is what we used when we created our table previously.
Datasheet View displays the table as a grid. The fields are displayed as columns, and the records are displayed as rows. The field names are listed as the column headers.
Datasheet View displays the data. If this table had data, it would be displayed in the cells.
Each row represents a record. If the table had say, five records, there would be five rows of data.
In Datasheet View, if you want to find out a field's data type, you need to select that field, then select the Fields tab on the Ribbon. The field's data type and other properties will be listed on the right side of the Ribbon.
-
Design View
Design View doesn't display any data. Therefore, there's more space available to display other settings.
In Design View, the fields are listed vertically. They are listed above and below each other as opposed to side-by-side.
In Design View, you can see the data type listed next to each field.
The way Design View works is, when you click on a field (in the top frame), the bottom frame displays the properties for that field. You can then change these properties as required.
We will now use Design View to do two things:
- Create a new table
- Set field properties for our existing table
Create a new Table in Design View
So now that we've established that Design View and Datasheet View are just two ways of looking at the same table, let's go ahead and create a table in Design View.
-
Create the Table
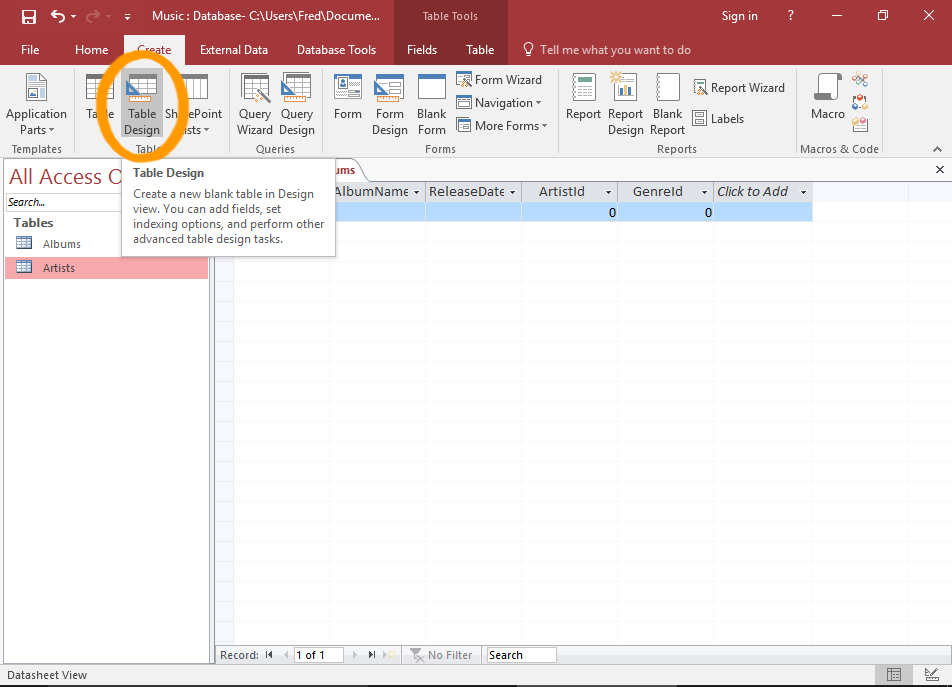
Click Table Design from the Ribbon (ensuring that the Ribbon is on the Create tab).
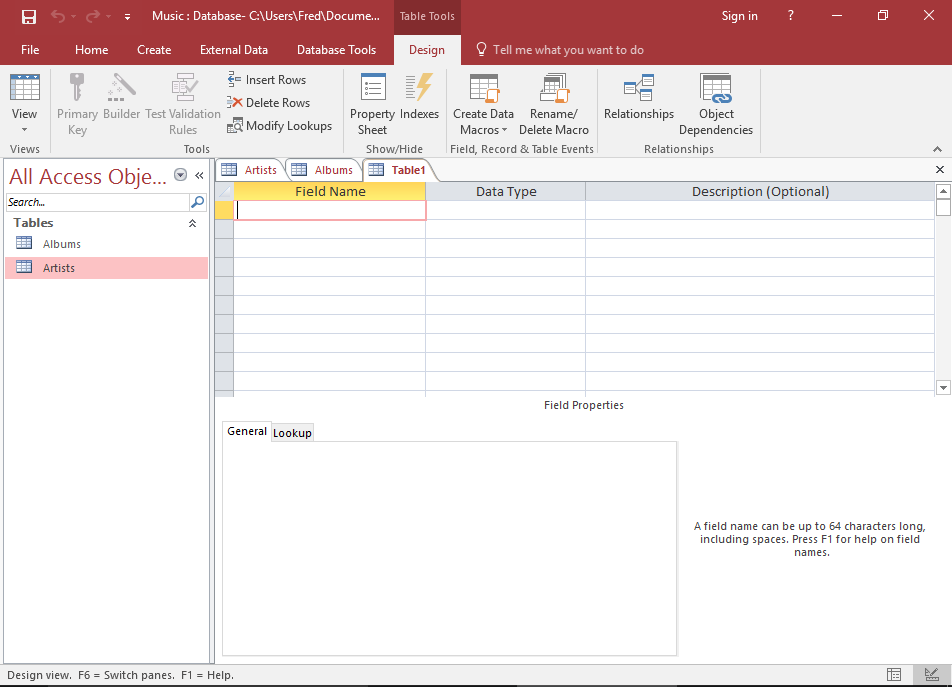
A blank table called Table1 will be displayed in Design View.
-
Add Fields to the Table
Now we will enter each field and select their data type.
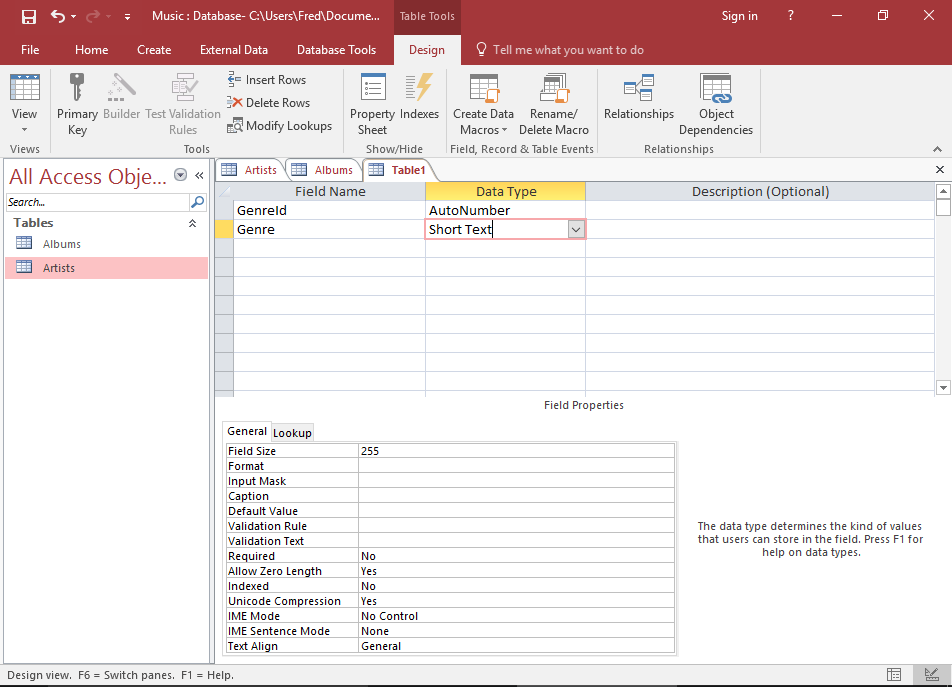
In the first cell under Field Name add a field called GenreId. Select Autonumber as its data type.
Under that field, create a new one called Genre and select Short Text for its data type.
-
Change the Genre Field Properties
Ensuring the Genre field is selected (by clicking on it), look at the bottom Field Properties frame.
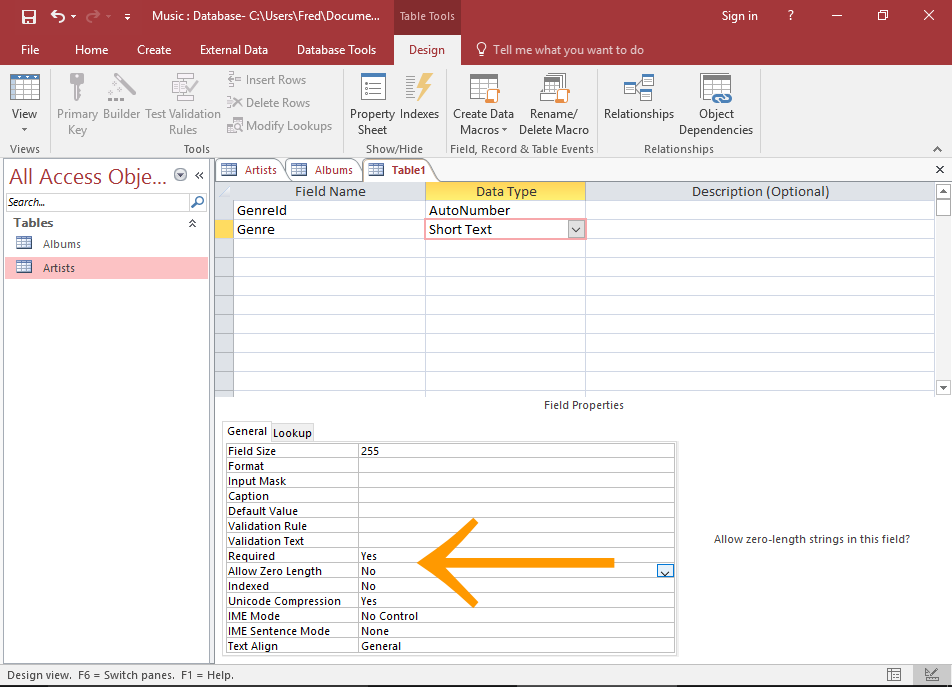
Double-click somewhere in the Required row, so that the value now reads Yes.
Now, double-click in the Allow Zero Length field so that it changes to No.
We have just made the Genre field a required field — all records must have a value in this field, and it can't just contain a blank string.
You can also click in the row, then use the small button with the down-arrow to change the value.
Or, you can simply highlight the current value (by clicking on it) and type Yes or No over the top of it.
-
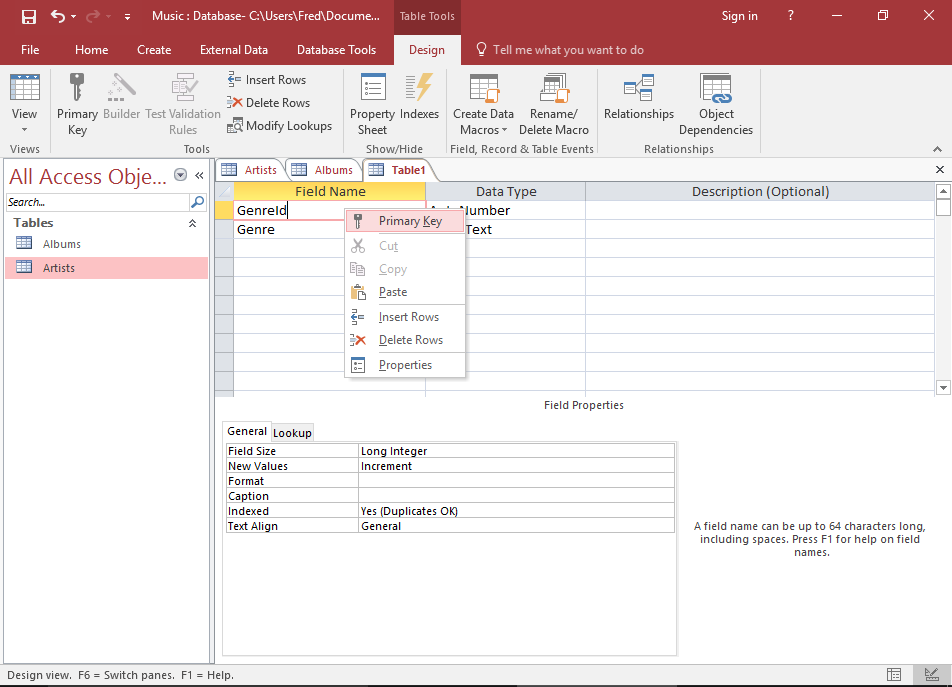
Set a Primary Key
Right-click on the GenreId field and select Primary Key from the drop down list.
This makes the field a primary key field. Once you've done this, you'll see a little key icon to the left of GenreId.
A primary key is the unique identifier for the table. Each value in this field will be unique — no two records in the table can have the same value in the primary key field.
This is why we set it to Autonumber. Access will automatically generate a number each time a new record is created.
Note that a table can only have one primary key.
-
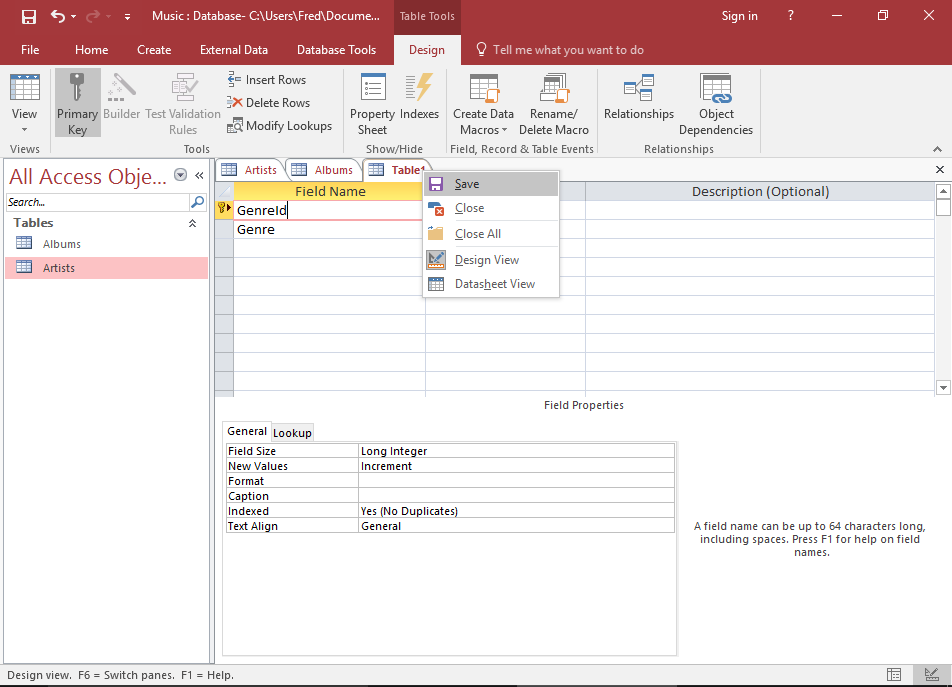
Save the Table
Right-click on the Table1 tab and select Save from the drop down list.
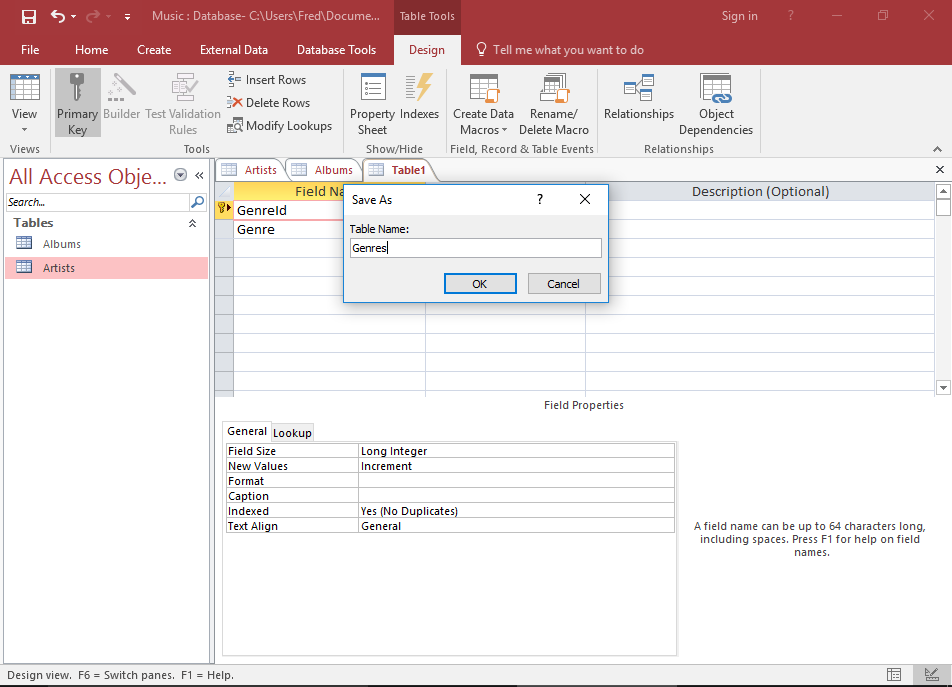
Call the table Genres and click OK.
Set the Field Properties for an Existing Table
You can also use Design View to edit any existing table. Whether the table was created in Design View or Datasheet View doesn't matter. Any table can be edited in Design View.
Now we will change some field properties to the table we created previously.
-

Open the Albums table in Design View
Right-click the Albums table in the left menu and select Design View from the contextual menu.
This will open the table in Design View.
You can also open Design View by:
- Right-clicking on a table's tab (if the table's open)
- Clicking the View button at the left of the Ribbon
- Clicking the Design View icon in the bottom right corner of the window (the Datasheet View icon is on its left)
You can switch back and forth between views at any time by using this method.
-
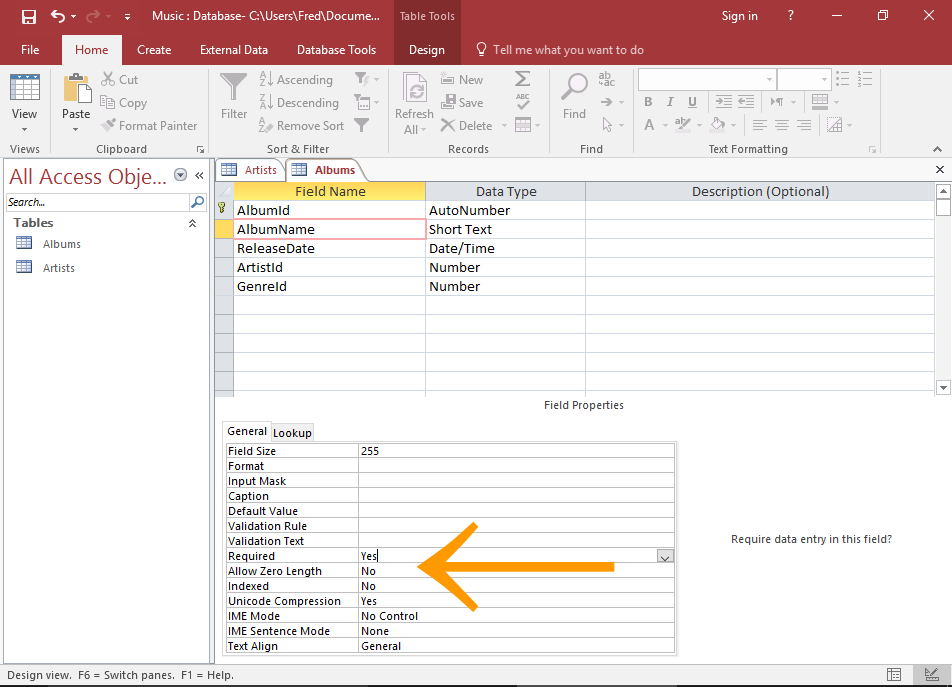
Modify the AlbumName Field
Set the AlbumName field to be a required field.
Also set Allow Zero Length to No.
-

Modify the ArtistId Field
Set the ArtistId field to be a required field.